
Last updated August 26, 2026
Free on-site gate assessment - hinges, posts, and your LiftMaster or Nice gate operator checked before anything is quoted
The assessment is free and the quote is the invoice.
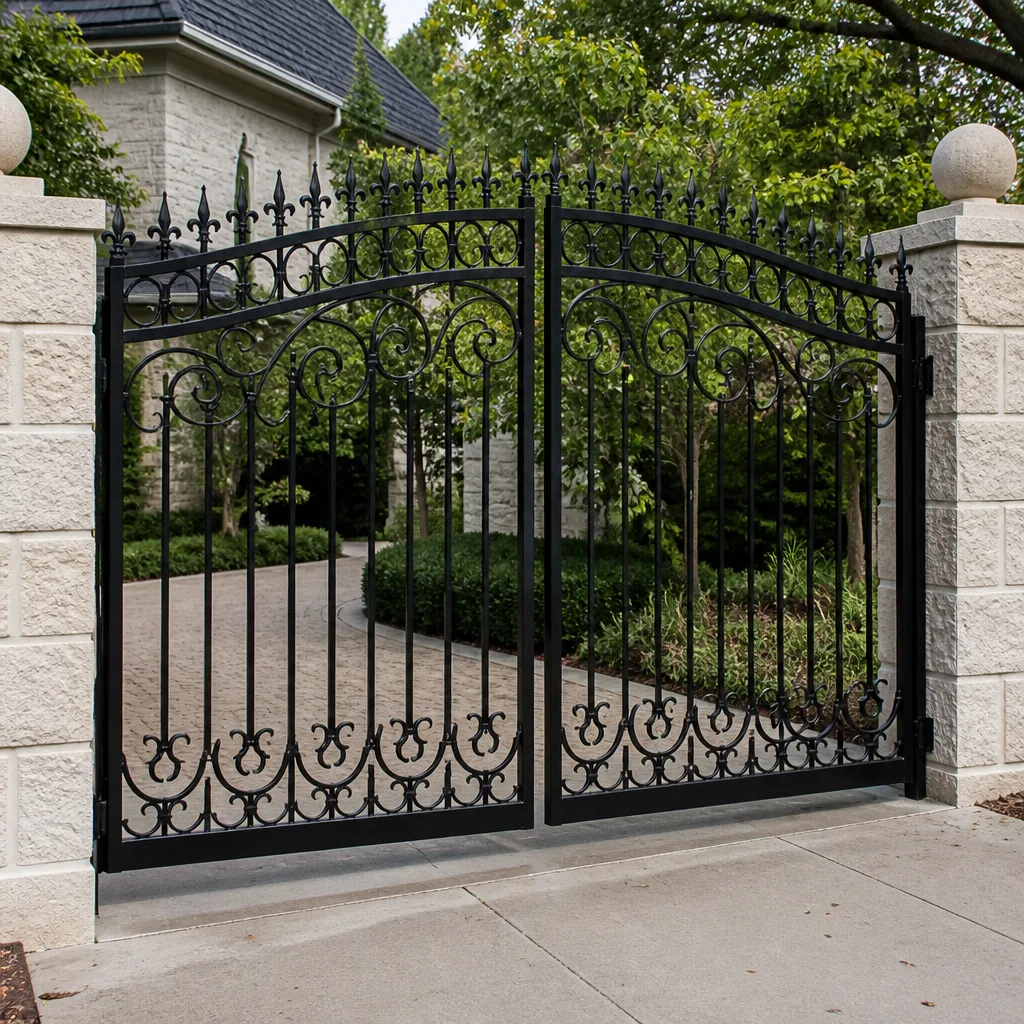
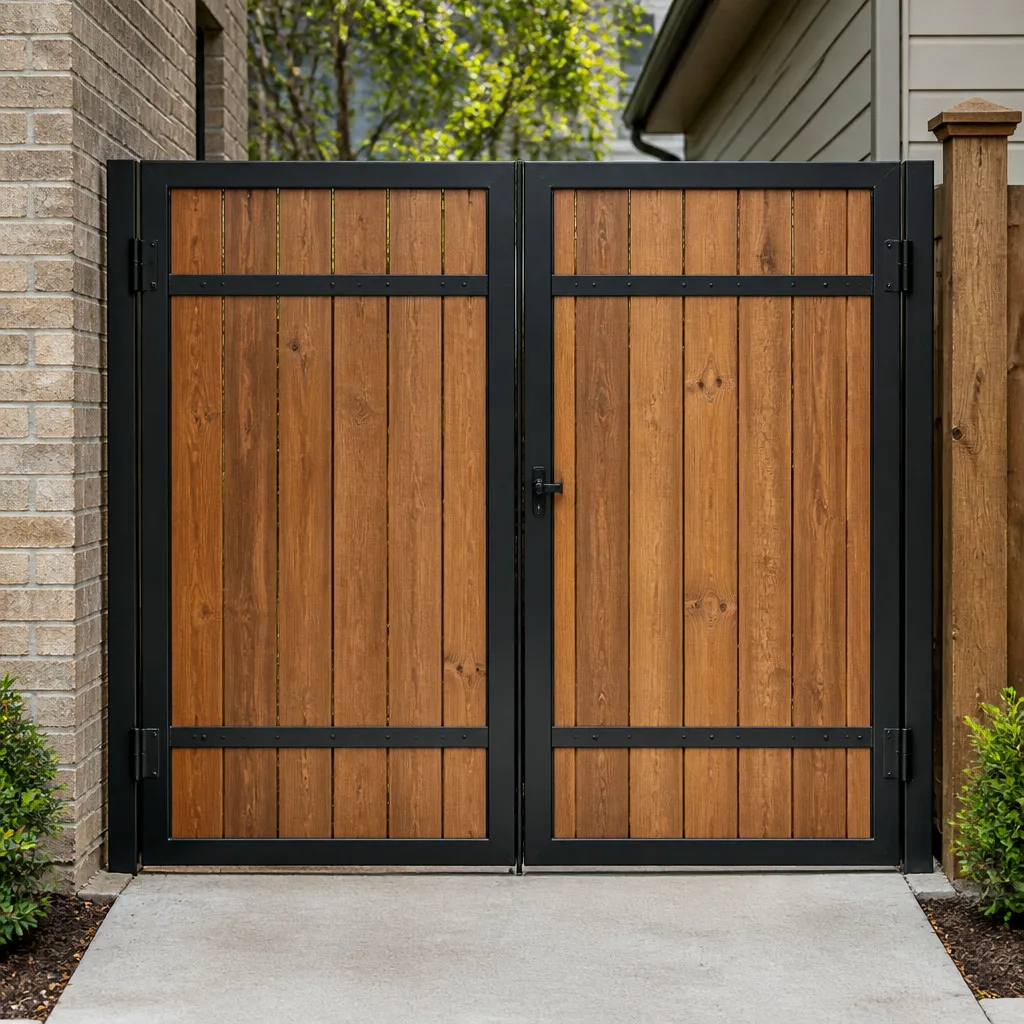
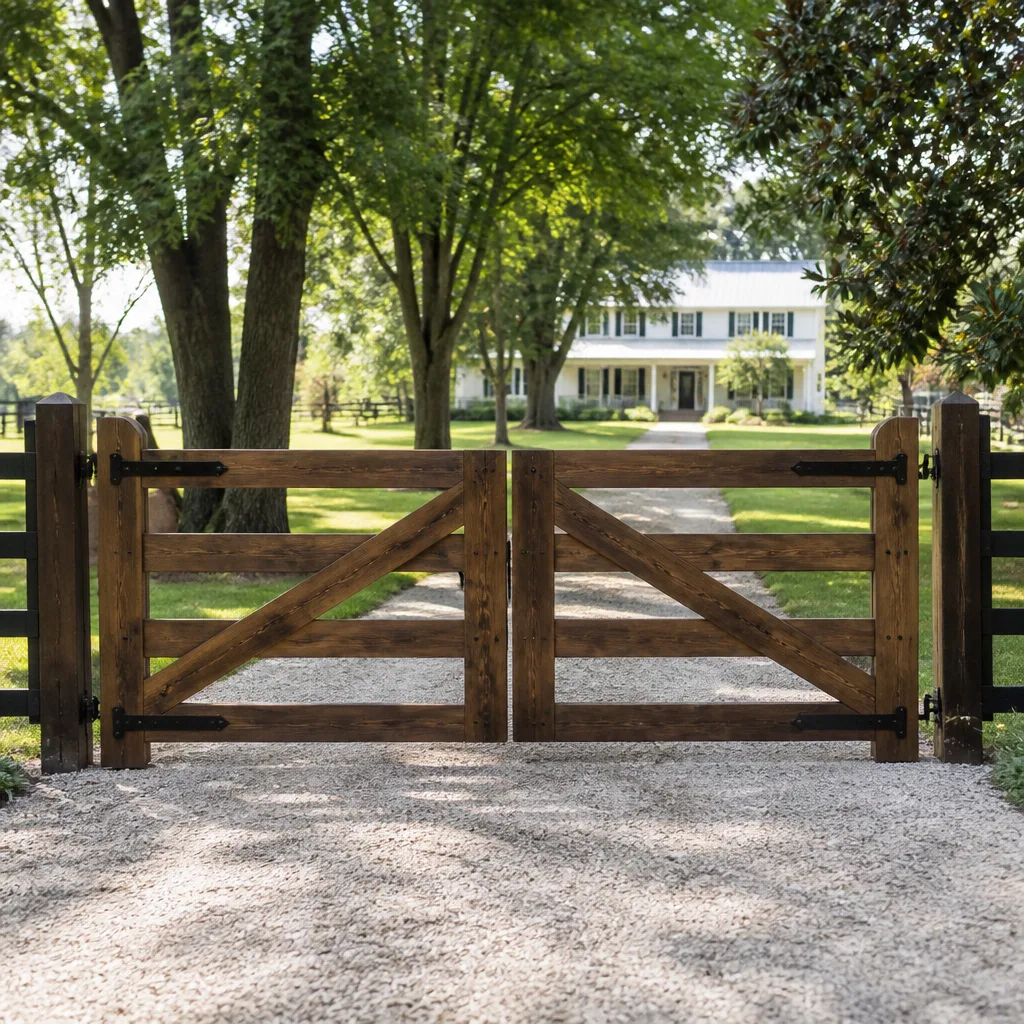
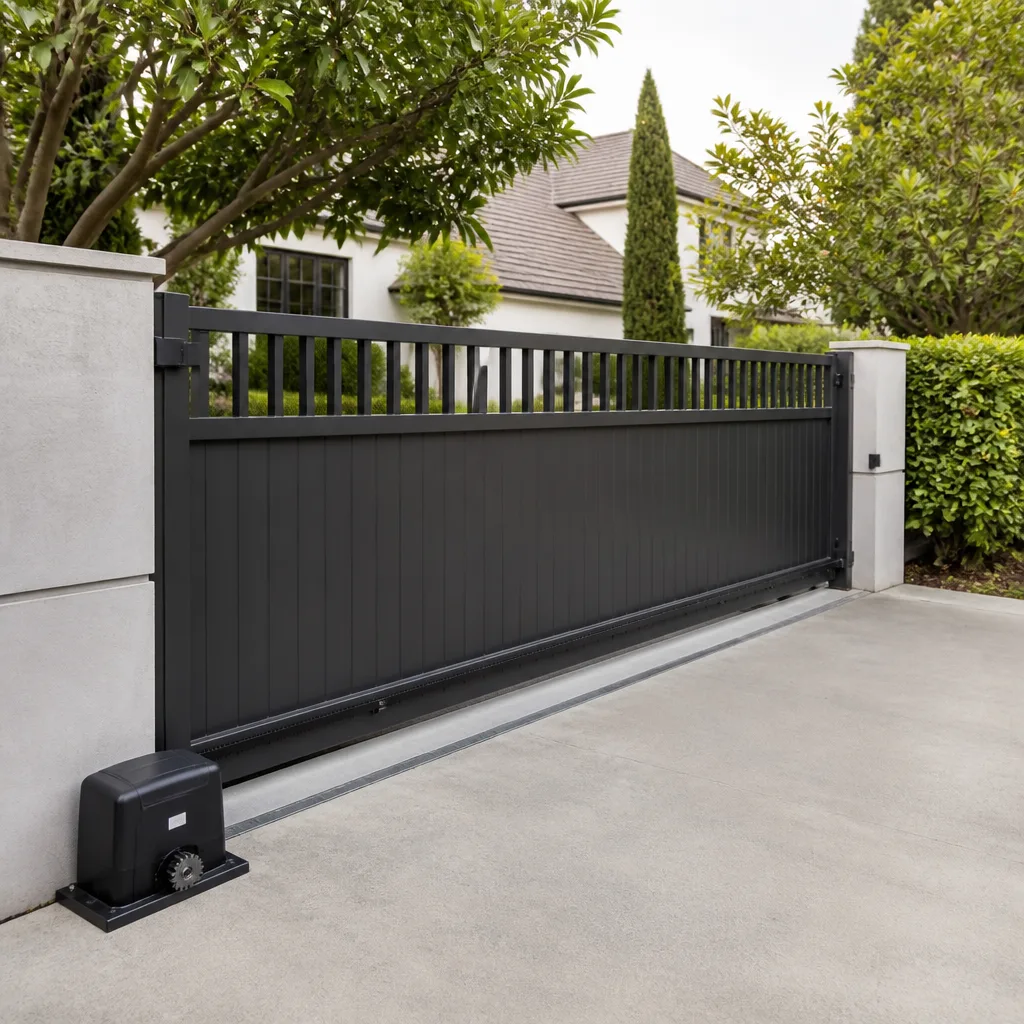
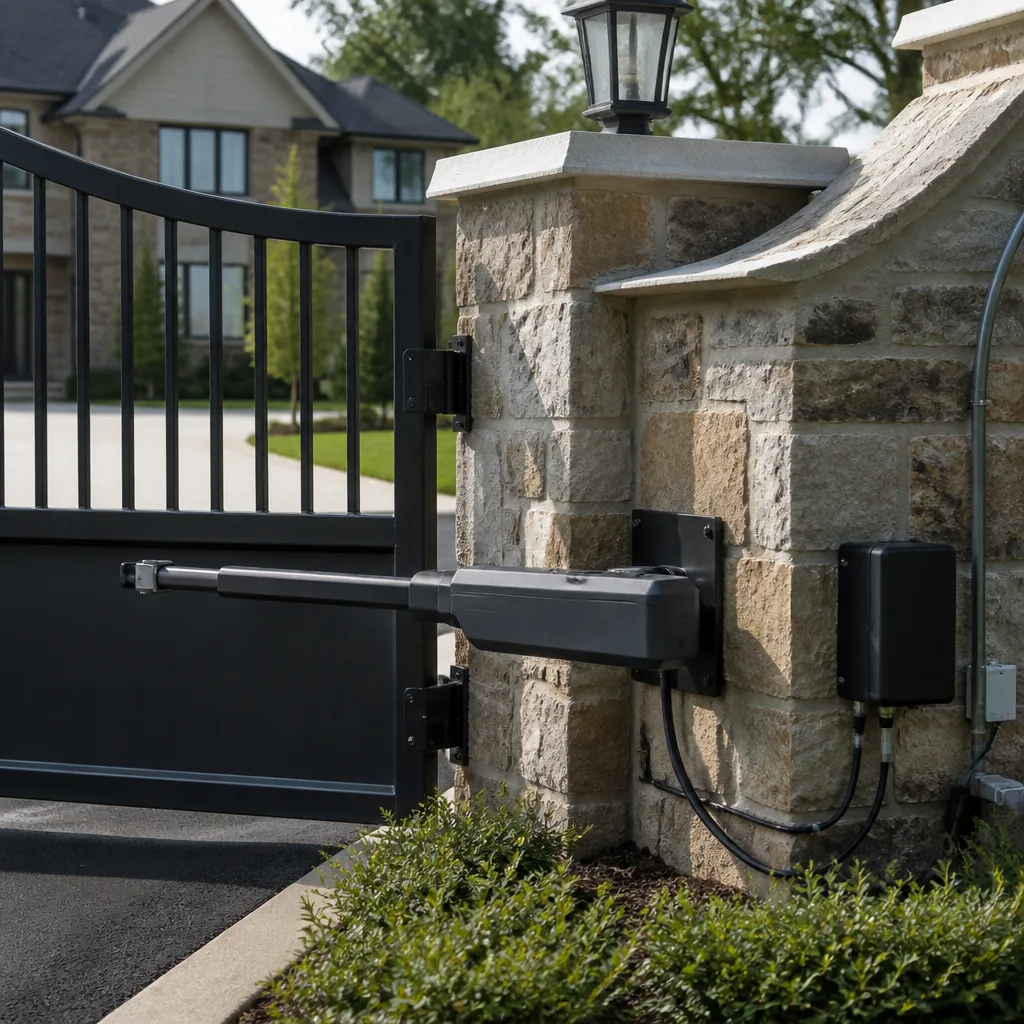
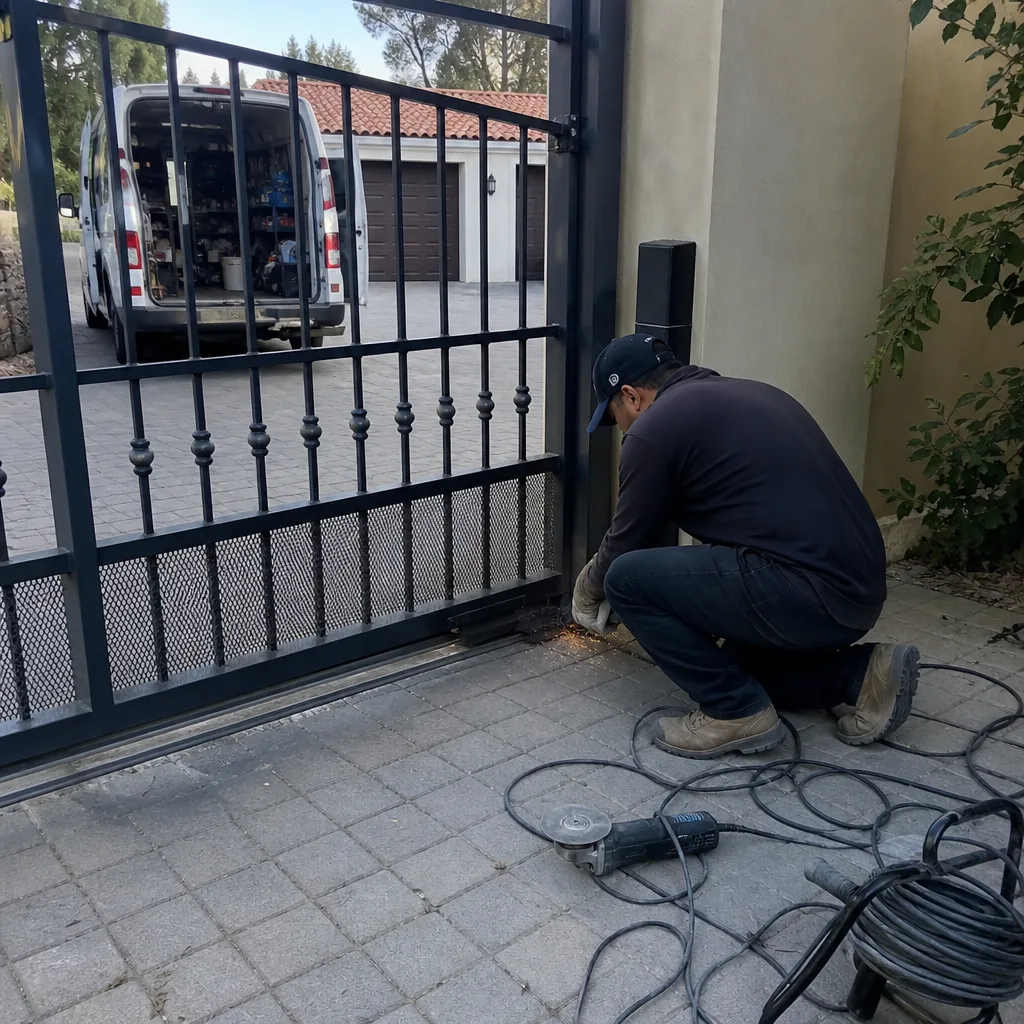
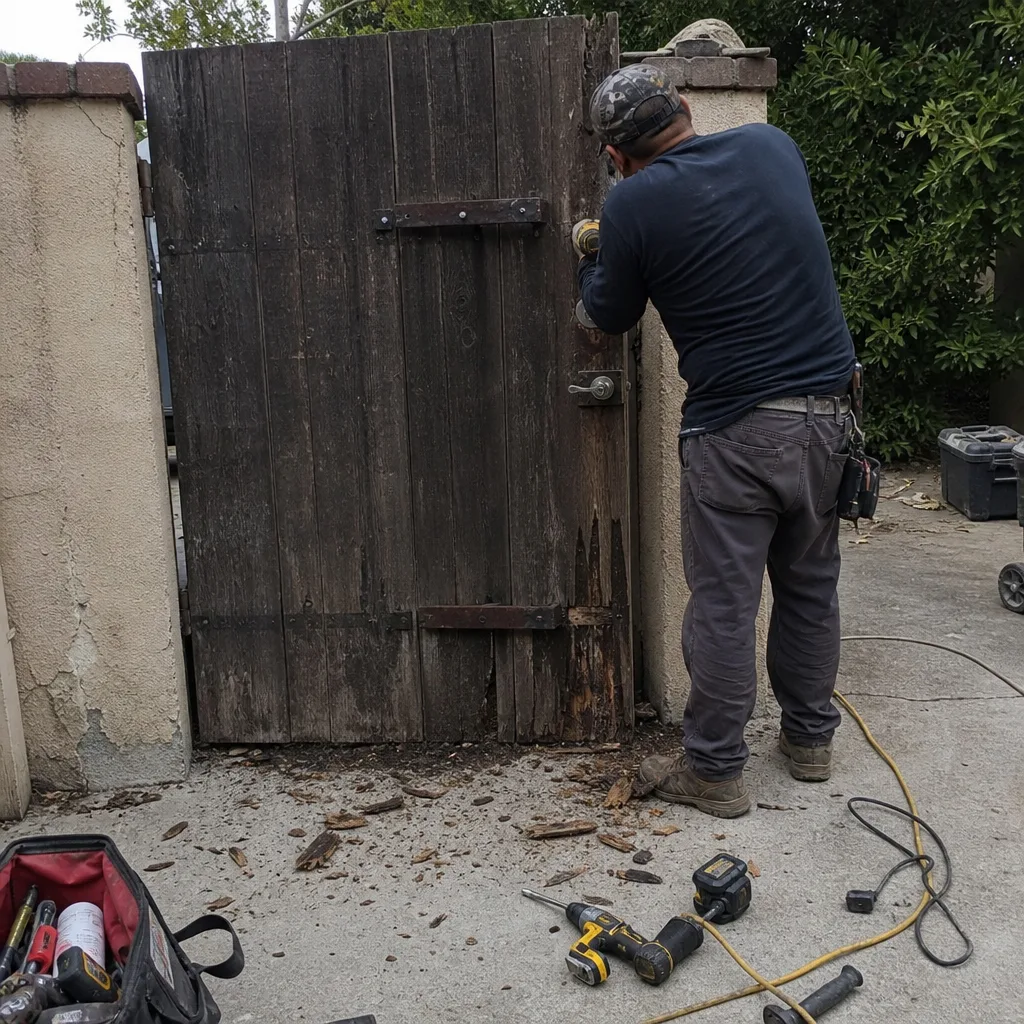 Before
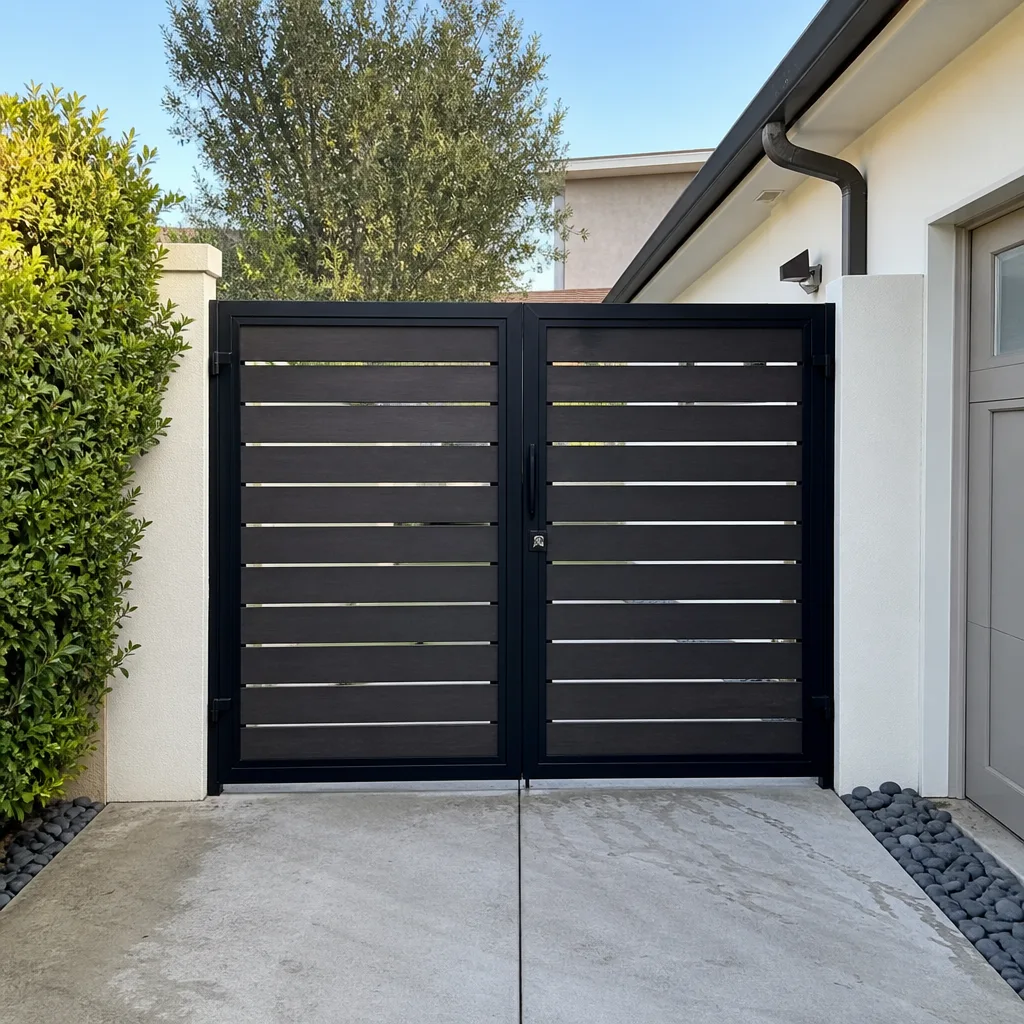 After
After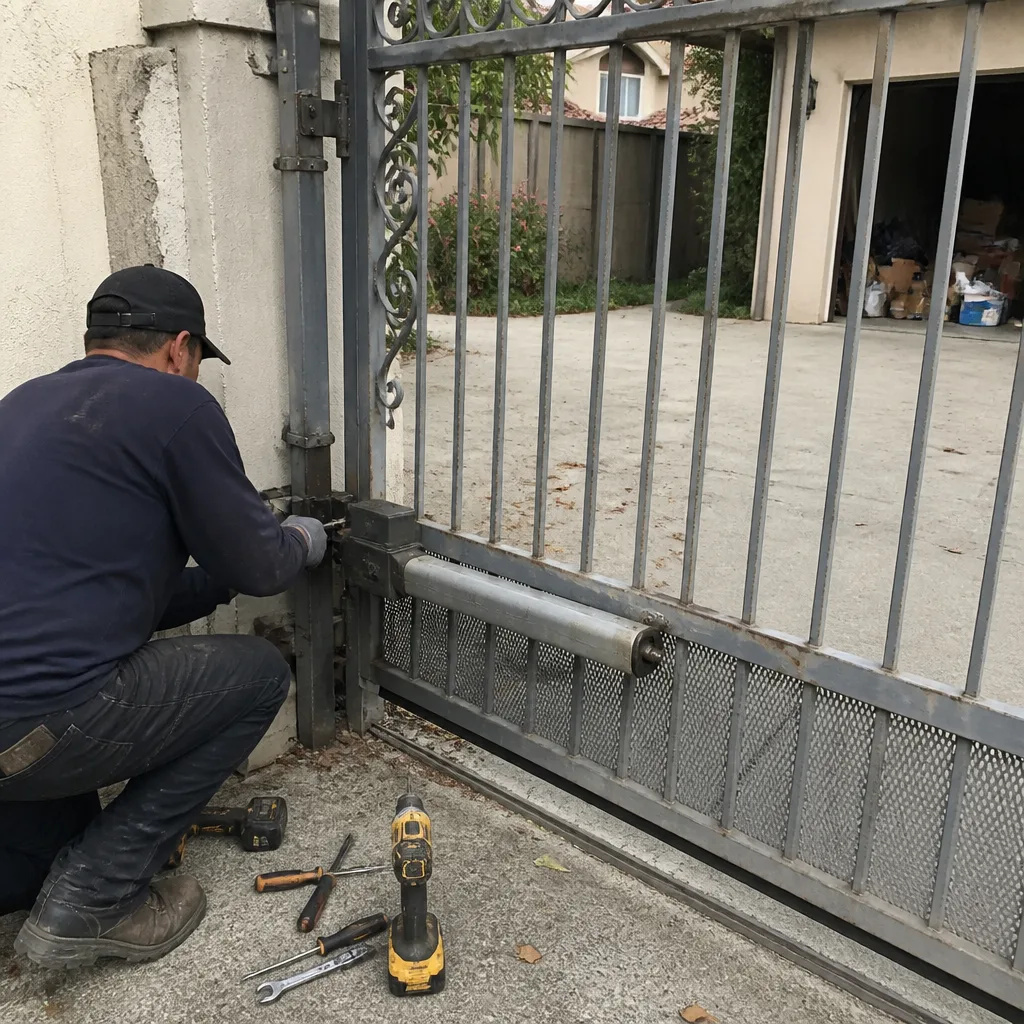 Before
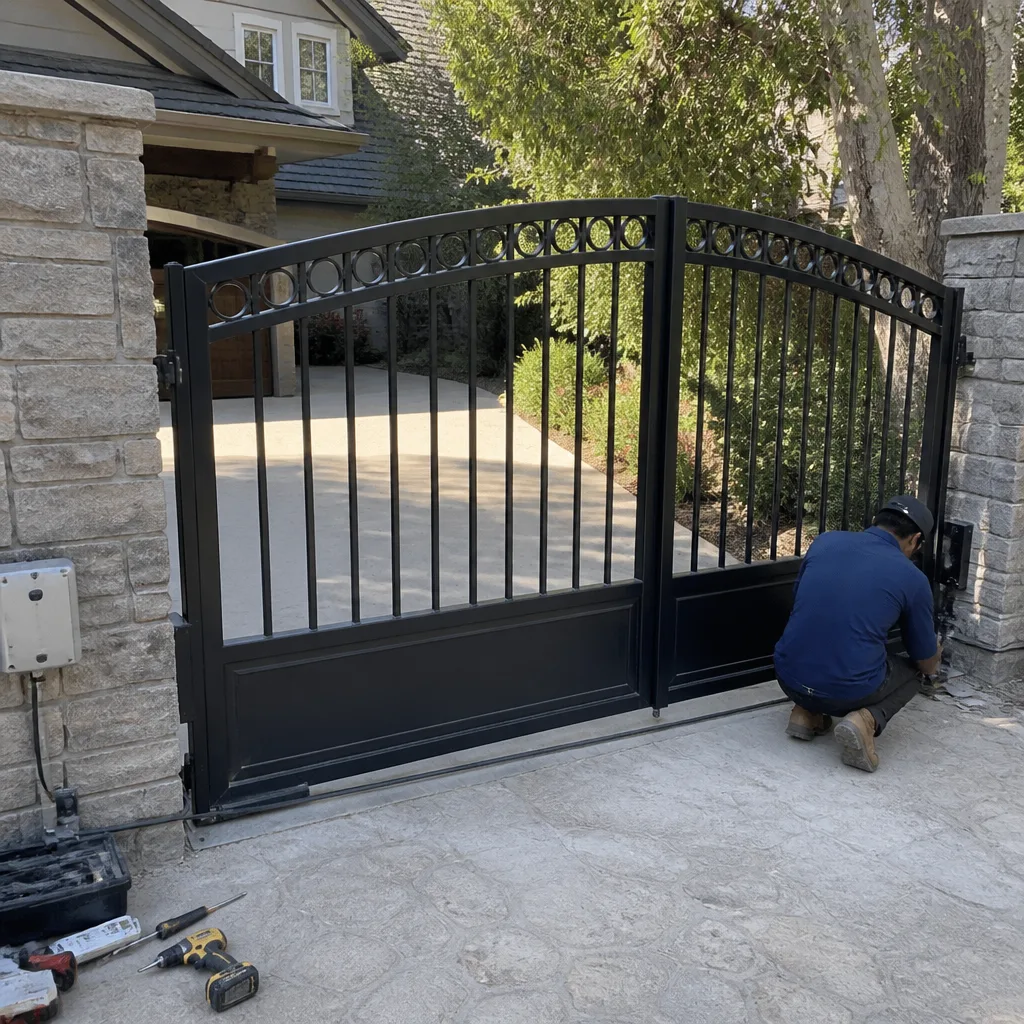 After
After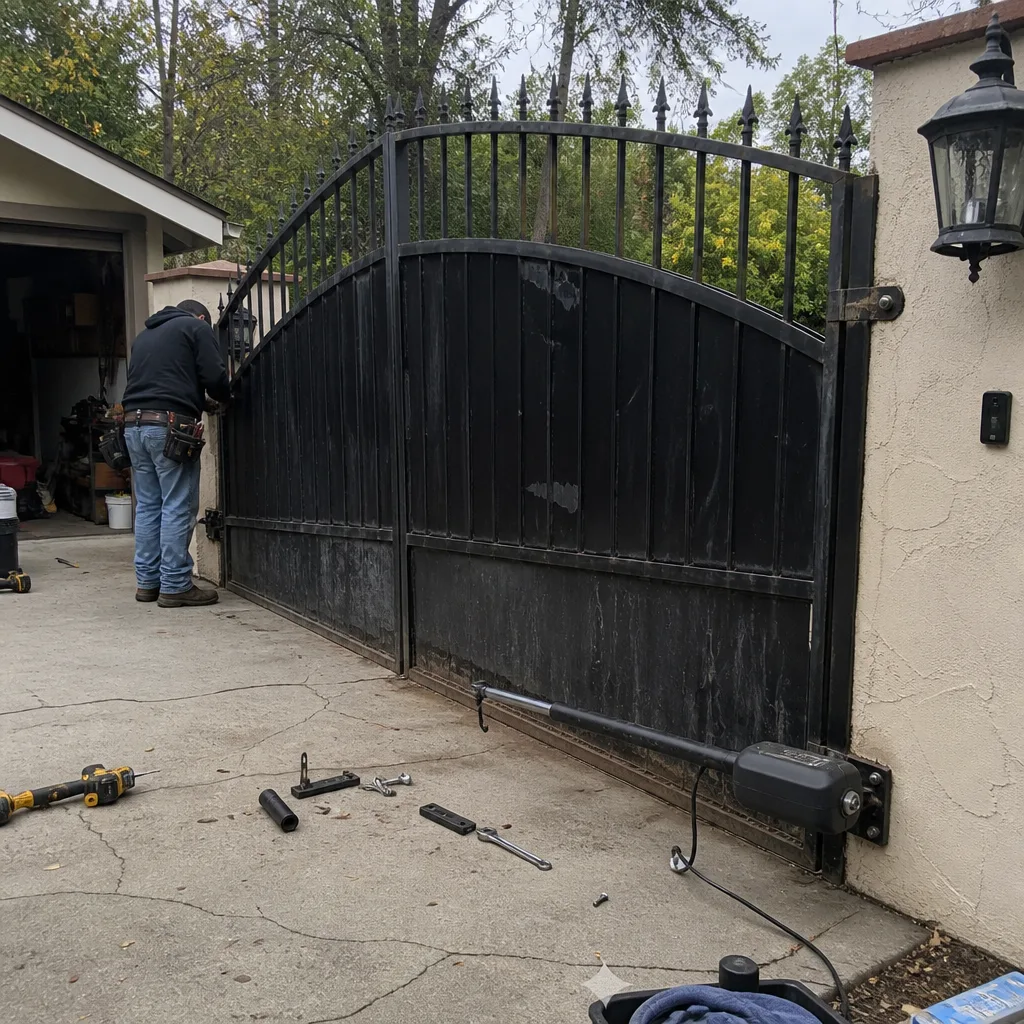 Before
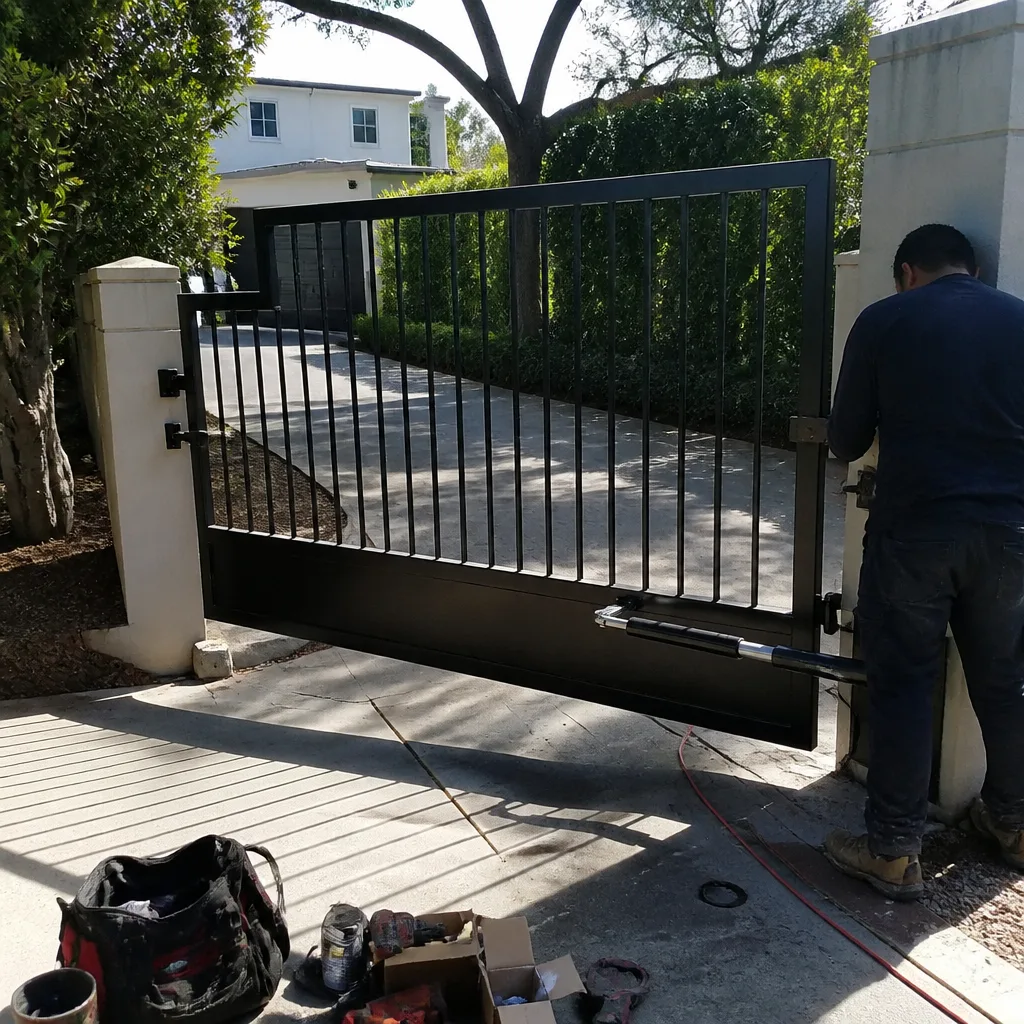 After
AfterDIY vs Professional Gate Repair: The Encino Homeowner’s Decision Guide
Here’s a number that surprises most Encino homeowners: roughly four out of every ten gate repairs we walk into started as a DIY attempt that went sideways. Hal has no problem with homeowners doing their own gate work. What he has a problem with is the YouTube repair that looks done but puts 400 pounds of swinging steel on a hinge that’s hand-threaded into stripped wood. This guide walks you through exactly where the line sits between safe weekend work and the kind of repair that can hurt someone or cost you real money down the road.
Quick Answer
DIY gate repair is genuinely reasonable for three tasks: lubricating hinges and tracks, replacing remote batteries, and adjusting close-limit screws on some openers. Everything structural, electrical, or weld-related belongs with our Gate Repair services, because those failures put people and property at risk when they’re done wrong.
Table of Contents
- What’s Actually Safe to Fix Yourself
- What You Should Never Fix Yourself (And Why)
- The Liability Question Nobody Mentions
- UL 325 and the Legal Exposure of DIY Gate Work
- The Real Cost of DIY: Time, Tools, and the Do-Over
- How to Check Your Own Work Before Calling Us
- What to Tell a Professional After You’ve Already Tried
- Common Mistakes to Avoid
What’s Actually Safe to Fix Yourself
Let’s start with the honest list. There are exactly three gate repair tasks a handy Encino homeowner can reasonably do without calling us, and Hal will tell you the same thing if you ask him at the hardware store.
- Lubricating hinges and tracks. A can of white lithium grease on the hinge pins and a dry silicone spray on the track rollers. Do this twice a year in Encino, once before the Santa Ana winds kick up dust and once after they die down. If the gate still groans after lubrication, the problem isn’t friction, it’s alignment, and that’s our work.
- Replacing remote batteries. Ghost Controls and Mighty Mule remotes take standard coin cells you can swap in thirty seconds. If a fresh battery doesn’t fix it, don’t open the operator housing. Stop there. The next step involves live terminals and capacitors that hold a charge even unplugged.
- Adjusting close-limit screws on some operators. This is the one electrical-ish task Hal gives a cautious pass, and only on units where the limit adjustment is a clearly marked external screw. DoorKing and Linear operators often have this. The rule: if you have to open the housing to reach it, you’ve crossed the line into professional territory.
That’s the entire list. Not because we want your business, but because everything else on a gate fails in ways that look simple and aren’t. A gate sags in the hinge post, not in the middle, and that is where we start.
What You Should Never Fix Yourself (And Why)
The line between DIY-safe and professional-only isn’t about your skill level. It’s about whether the failure mode puts people or property at risk when it’s done wrong. Here’s where that line sits.
Hinge posts, hinge sockets, and anything welded
When a gate sags, the panel is usually fine. The failure is in the post, the hinge socket, or the weld point. A homeowner who shims the panel to compensate hasn’t fixed anything. They’ve hidden the damage. In our experience in Encino, where expansive clay soil moves posts seasonally, the repaired-looking gate often fails catastrophically within a year, and a falling gate transfers all of its weight to whatever is underneath it. Fix the panel without the post and you’ll fix it twice.
Operator motors and control boards
Gate operators carry line voltage. Some carry stored energy in capacitors even when unplugged. Every year we see a homeowner who opened the housing to “just take a look” and caught an arc or fried a board that was actually fine. The UL 325 entrapment sensors on modern operators are calibrated to the specific gate’s weight, speed, and travel. Touch the board, change the motor, alter the speed, and you’ve silently changed the safety profile of a machine that’s designed to stop before it crushes a child or a dog.
Chain, belt, and rack replacement
These seem mechanical and approachable. They’re actually tension-critical. A chain that’s too tight destroys the operator gearbox. Too loose and it jumps the sprocket under load. Getting this wrong doesn’t just break the opener; a gate that releases mid-travel can swing freely on its hinges with several hundred pounds of momentum behind it.
Sensor and safety-edge work
If your gate isn’t reversing when it meets resistance, the cause could be the sensor, the board, the wiring, or the edge itself. A homeowner who bypasses a safety edge to stop a nuisance reversal has just disabled the one component that stands between the gate and a serious injury. We’ve seen this in Encino, and it’s the repair Hal refuses to quietly patch. It gets fixed properly or not at all.
The Liability Question Nobody Mentions
Here’s the part YouTube doesn’t cover. If you modify your gate, rehang it, adjust the operator, or alter the safety devices, and someone gets hurt, your homeowner’s insurance company gets to ask a very specific question: who did the work?
If the answer is a licensed gate contractor in Encino, the liability generally follows the contractor’s insurance. If the answer is you, the homeowner, then your standard homeowner’s policy may deny the claim based on an excluded activity, unpermitted modification, or work performed outside of code compliance. That means the medical bills, the legal defense, and any judgment could land entirely on you.
This isn’t theoretical. Gates are among the heaviest moving objects on a residential property. A single swing panel can exceed 400 pounds, and once it’s moving, that’s kinetic energy that doesn’t care about good intentions. The question isn’t whether you can make the repair. It’s whether you can afford to be wrong.
Hal has been at this since 2001, and his name is on every invoice. That’s not branding. That’s the legal reality of who stands behind the work when something goes wrong. A published address and a license number anyone can look up means there’s no disappearing act available, and that’s exactly what you want backing a moving wall of steel.
UL 325 and the Legal Exposure of DIY Gate Work
UL 325 is the safety standard that governs automated gate operators, and it applies to anyone who modifies or reinstalls one. Not just professionals. Anyone.
What that means for the Encino homeowner who replaces an operator motor, swaps a control board, or repositions a safety sensor is that you’ve now assumed responsibility for certifying that the gate meets entrapment protection requirements. Those requirements include secondary entrapment protection devices, specific force limits at the leading edge, and fail-safe redundancy in the sensing circuit. Most homeowners have never heard of UL 325, let alone understand what compliance looks like.
The enforcement path is ugly. If someone gets hurt, the investigation doesn’t care that you didn’t know. It cares that you modified the gate and the gate hurt someone. A licensed professional carries the training and the insurance that covers this exposure. A homeowner carries whatever their policy says, and their policy usually says no.
We service nine major gate brands, including LiftMaster, FAAC, BFT, Linear, Viking, Ghost Controls, DoorKing, Elite, and Mighty Mule, and every one of them ships with UL 325 compliance requirements that assume a qualified installer. That assumption evaporates the moment a DIY modification happens. The gate doesn’t know who’s turning the wrench. The law does.
The Real Cost of DIY: Time, Tools, and the Do-Over
Let’s run the actual numbers on a “simple” hinge replacement in Encino, because the hardware store receipt never tells the whole story. For a complete picture, see our Gate Repair Cost Breakdown: The Encino Homeowner’s Reference for 2026.
Start with the parts. Good hinges for a heavy swing gate cost $35 to $90 per pair, assuming you buy them once. The tools come next: a hammer drill if the post is concrete, a socket set, a level that’s actually true, shims, and possibly a second person to hold the panel while you work. If you don’t own a hammer drill, that’s a $60 to $120 same-day purchase or rental. Add the first trip to the hardware store because you bought the wrong thread pitch, and you’re at three hours before the gate is even off its hinges.
Now factor the do-over. A misaligned hinge that binds, a post that’s no longer plumb, a weld that doesn’t hold, and you’re paying a professional to undo your work and redo it correctly. In our experience, the professional repair after a failed DIY attempt costs 40 to 60 percent more than the repair would have cost if we’d done it first, because we’re now removing damaged hardware, correcting the post angle, and often sourcing parts that were stripped or cross-threaded in the attempt.
The honest math: if the proper repair requires a tool you don’t already own, hiring a professional is usually cheaper. If it requires a tool you own but you’d be learning on the job, hiring a professional is usually faster and safer. The only DIY that reliably saves money is the list of three tasks at the top of this guide.
How to Check Your Own Work Before Calling Us
If you’ve already done a repair and it’s not behaving, here’s how to check your work without making things worse, drawn from our Gate Repair Maintenance Checklist for Encino Homeowners. Do these in order, and stop at the first failure.
- Stand back and look at the gate in its closed position. Is the gap between the panel and the post consistent top to bottom? If it’s wider at the top, the post or hinge socket is failing, and no amount of adjustment at the operator will fix it.
- Cycle the gate manually with the operator disengaged. It should move through its full travel with even resistance and no binding. If it catches, listen for where. A catch near the hinge means hinge wear. A catch mid-travel often means the track or the panel itself is the issue.
- Watch the gate close, but don’t stand in its path. Does it slow near the limits or slam into them? A slamming gate means the operator’s limit settings or speed profile are wrong, and that’s an operator problem, not a hinge problem.
- Test the safety reversal. With the gate moving, place a solid object, not your hand, in its path. The gate should reverse immediately. If it doesn’t, stop using the gate until it’s repaired. That’s a UL 325 failure, and it’s dangerous right now.
- Check your work visually against what you changed. New hinges? Confirm they’re seated fully and the bolts are torqued. New batteries? Confirm the remote’s LED fires bright, not dim. Adjusted a limit? Run three full cycles and confirm the behavior repeats every time.
If any of these checks fail, or if you’re not certain what you’re looking at, that’s when you call. A gate that doesn’t feel right is telling you something. Show me the gate closing on its own and I’ll show you where it’s failing.
What to Tell a Professional After You’ve Already Tried
If you’ve already attempted a repair and it’s time to call Gate Repair in Encino, please tell us the truth about what you did. That’s not a lecture. That’s practical.
When you tell us you replaced the hinges, adjusted the limits, bypassed a sensor, or opened the operator housing, we know exactly where to start looking. That saves us time, which saves you money. When you don’t tell us, we spend the first hour discovering the problem you already know about, and you pay for that discovery time. Worse, we might assume the gate is in its original condition and miss a modification that’s actively dangerous.
Here’s what to say, and it takes ten seconds: “I replaced the hinges on the post side last month,” or “I adjusted the close limit, and now the gate slams.” That sentence alone cuts our diagnostic time in half. Hal has never charged a homeowner for the privilege of listening. He’s charged them for the extra hour it takes to find what they didn’t mention.
And here’s the thing you should know: if your repair was actually fine and the real problem is something else entirely, we’ll tell you that too. We won’t charge you to undo work that was done correctly. The 90-Day Done Right Promise is in writing on every job, but the no-runaround honesty starts before the invoice. For more guides & resources, visit our blog. You can drive to the shop and look Hal in the eye, and that’s the point.
Common Mistakes to Avoid
- Shimming a sagging gate instead of fixing the post. The shim masks the symptom. The post continues to move, and when it finally lets go, the gate falls with everything attached to it. A gate sags in the hinge post, not in the middle.
- Bypassing a safety edge or sensor because it’s “annoying.” The nuisance reversal is telling you the gate’s force profile is wrong. Bypassing it removes the one device that protects people and pets from a crushing injury.
- “Just tightening” a weld that’s cracked. A cracked weld needs to be ground out and re-welded, not tightened with a bolt through the crack. We do on-site welding so the gate stays in your driveway, but the crack has to be addressed correctly the first time.
- Using household oil on a gate track. WD-40 and motor oil attract dust and gum up rollers, especially during Encino’s dry, windy season. Use dry silicone on tracks and white lithium on hinge pins, and nothing else.
- Assuming the operator is dead when the remote quits. We’ve replaced more batteries than we’ve replaced operators. Test the remote, test the wall button, check the breaker, and only then is the operator actually suspect.
- Ordering parts online based on a photo rather than a model number. Gate openers from Ghost Controls, Mighty Mule, DoorKing, and Elite all have specific board revisions and gear ratios. A part that “looks right” often isn’t, and now you’ve paid return shipping on something we can source locally.
When to Call a Professional
Call a professional when the post moves, when weld metal cracks, when the operator arcs, when the gate reverses on nothing, when the safety edge fails its test, or when you’ve already tried something and it didn’t hold. Those are the moments where the next decision determines whether the gate stays a gate or becomes a hazard. Gatewood Fence & Gate offers free estimates in Encino, and a live person answers every call, 24/7. Call (350) 247-4763 and you’ll get Hal or someone who works directly for him, not a voicemail.
Frequently Asked Questions
It’s safe to replace the remote battery and, on some units, adjust an external close-limit screw. It’s not safe to open the operator housing, replace the motor, modify the board, or alter the safety sensors. Those repairs involve line voltage, stored capacitor charge, and UL 325 compliance that a homeowner’s insurance may not cover if something goes wrong.
Most gate repairs in Encino run between $150 and $450 depending on the failure, with operator board replacements and full hinge-post work at the higher end. The price you’re quoted is the price you pay, agreed before any work starts. Gatewood Fence & Gate offers $40 off any repair over $200 and free estimates, so call (350) 247-4763 for exact numbers on your gate.
Yes. A gate that won’t close is a security and safety issue, especially overnight in Encino. A live person answers our phone 24 hours a day, 7 days a week, and same-day repair is available for emergencies. Call (350) 247-4763 and tell us what the gate is doing.
A full Gate Installation in Encino from Gatewood Fence & Gate includes measuring the opening, setting or replacing the posts, hanging the panel, installing and calibrating the operator if it’s automated, connecting the safety edges, and testing the full travel cycle with you watching. Every installation carries the 90-Day Done Right Promise in writing.
We handle the full operator installation, including the power run within local code, the safety edges, and the UL 325 compliance testing. For Gate Motor & Opener in Encino work, Hal services LiftMaster, FAAC, BFT, Linear, Viking, Ghost Controls, DoorKing, Elite, and Mighty Mule. The gate leaves our hands tested, certified, and covered by the written promise.
Yes. We’ll inspect what you’ve done, tell you honestly if it’s good, and only charge for what actually needs correcting. If your repair was fine and the real problem is elsewhere, we’ll tell you that straight. The free second opinion on any written estimate applies, and you can start by calling (350) 247-4763 with a description of what you did.
The Bottom Line
The line between DIY and professional gate repair in Encino isn’t about how handy you are. It’s about what happens when the repair fails. Lubricate your hinges, change your remote batteries, and adjust an external limit screw if the housing stays closed. Leave the posts, the welds, the motors, the boards, and the safety sensing to someone who carries the liability and the license. Gatewood Fence & Gate home has been at this since 2001, and Hal’s policy hasn’t changed: fix it right, stand behind it, and answer the phone when you call. For a free estimate on any gate repair in Encino, call (350) 247-4763.
Written by Hal Gatewood, Owner at Gatewood Fence & Gate, serving Encino since 2001.